Setting up SSL with a SelfSSL certificate on Windows Server 2003
Preface:
This tutorial will demonstrate how to install SelfSSL from the IIS Resource Kit ( http://www.microsoft.com/downloads/details.aspx?FamilyID=56fc92ee-a71a-4c73-b628-ade629c89499&displaylang=en ) and set up the certificate in IIS 6. I will assume you have already downloaded the kit (linked to above) and IIS.
Update:
Poul Bak emailed the following information about these certificates:
"If you set a host header in IIS and you specify that name in
SelfSSL you will NEVER see a security warning (because the name of the
certificate and the server matches).
Now if you try to access the site from another computer, you WILL get a security
warning (not from a trusted authority). This can be avoided if you export the
certificate to a file and then import it on the computer from which you want to
access the site.
In fact, using self-signed certificates is a great way to ensure your intranet
is just as safe as using a 'paid for' certificate - what can be more safe than a
certificate that has never left the building - it's guaranteed, that no one has
changed it on its way."
Method:
Run iis60rkt.exe. You will see the welcome screen - click Next
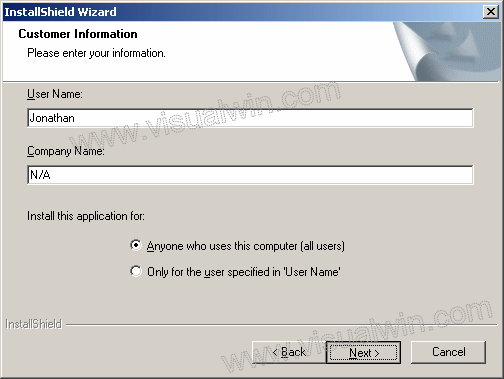
In the next dialog, read over the EULA and select "I agree" and press Next. In the next dialog, you can usually just press "Next" because your information is usually entered already.
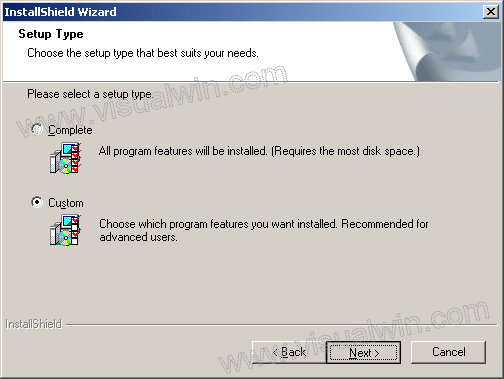
Now in this next dialog, select "Custom" and press "Next"
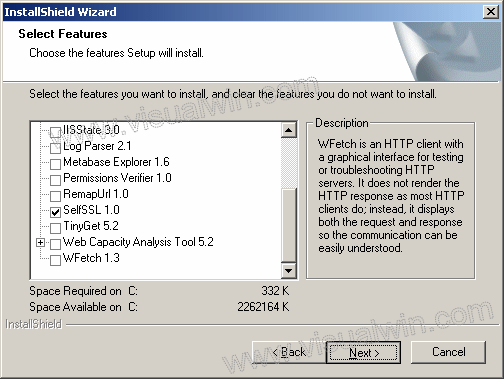
Here you can change the path of where it installs, just click Next. In the next dialog we have an option of what we can install. In this tutorial I will only be installing "SelfSSL" so I will unselect everything else. You can install whatever looks interesting, if you wish.
Now you will be presented with an overview, you can click "Next" and the install will copy the selected files. When that's done, click "Finish"
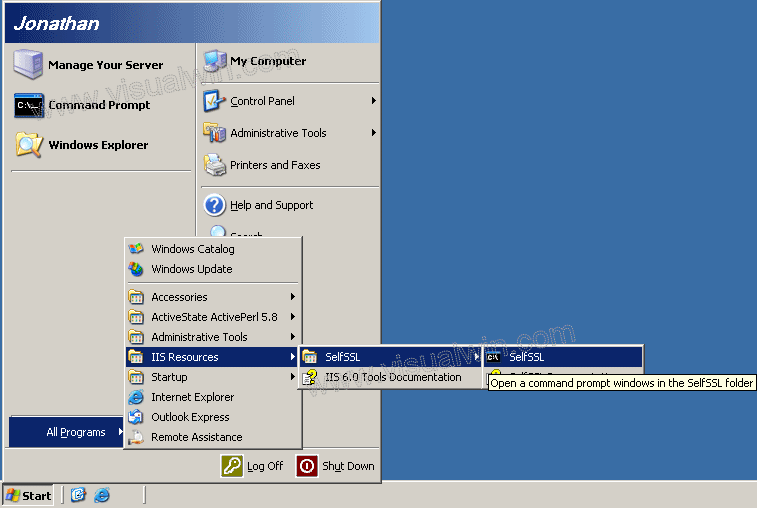
Now we will create a certificate. Click Start -> All Programs -> IIS Resources -> SelfSSL -> SelfSSL
Type "selfssl /T", without the quotes and press "y" when prompted. Rocky reported that if you type "selfssl /T /N:CN=<computer or domain name>" then you will only be prompted once in Internet Explorer to accept the certificate. Thanks Rocky

Now load "https://localhost" in Internet Explorer, and click "Yes" to view a secure site. You will be presented with the following warning:
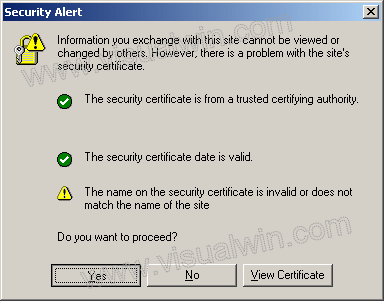
That is because SelfSSL makes a certificate only meant to be used in testing. The connection will still be a secured one, but every time you load it you will get that message.
That's all! I hope you found this information useful.
<-- Go back to the main tutorial page
Copyright © 2002-2026 Jonathan Maltz. For trademark/copyright information, click here. About me. Main page. Contact me.