Setting Host Headers in IIS 6.0
Preface:
Many people would like to have several web sites hosted on their own computer, maybe they want something like hello.domain.com and goodbye.domain.com both on the same computer. IIS can use host headers to see what the end user tried viewing, and it will show the correct web page based on that.
Method:
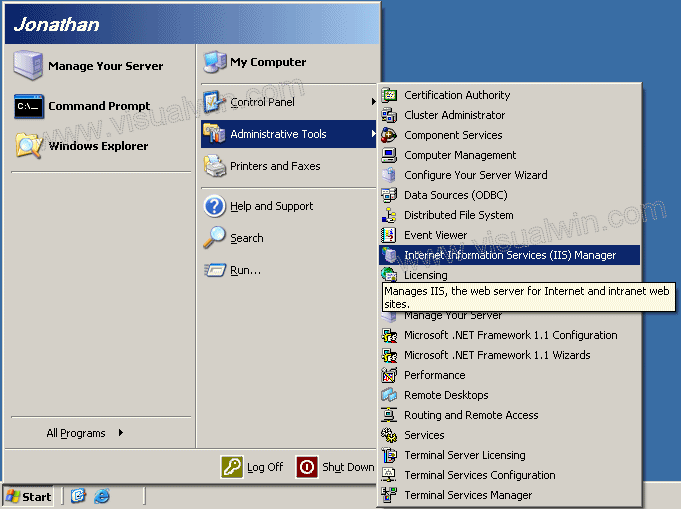
Load IIS from the Administrative tools in the Control Panel by clicking Start -> Administrative Tools -> IIS Manager (or loading the Control Panel, entering the Administrative Tools folder, and double clicking IIS Manager).
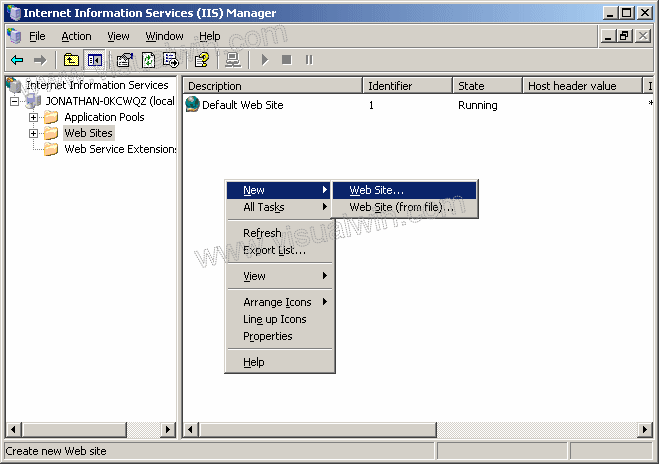
On the left side, expand your computer name, then click "Web Sites", right click in the right side, put your mouse over "New" and select "Web Site..."
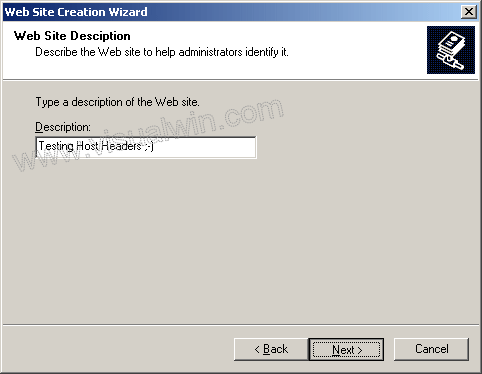
Click Next in the dialog, then put in a description of the new web site you are creating (can be anything)
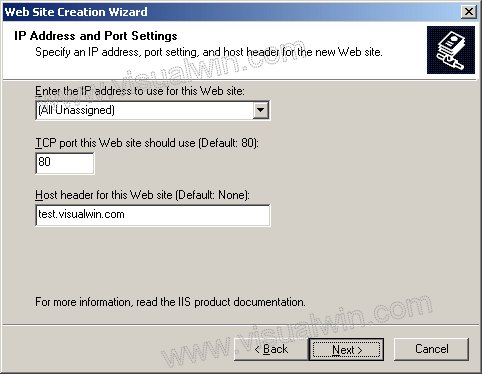
Now here's the important part. Go to the last text box and put in what you want the new Host Header to be
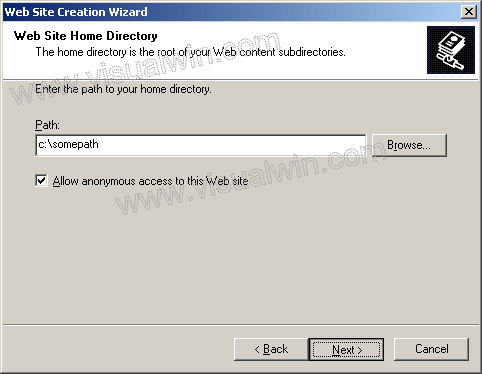
Now put in the path to your new site and make sure you keep "Allow anonymous access" checked
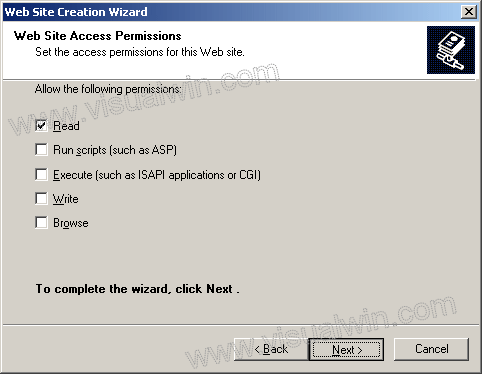
For added security, if you don't plan on using ASP or anything similar, then uncheck "Run scripts". You can always enable it at another time
Click Finish on the next dialog and you're done!
Questions:
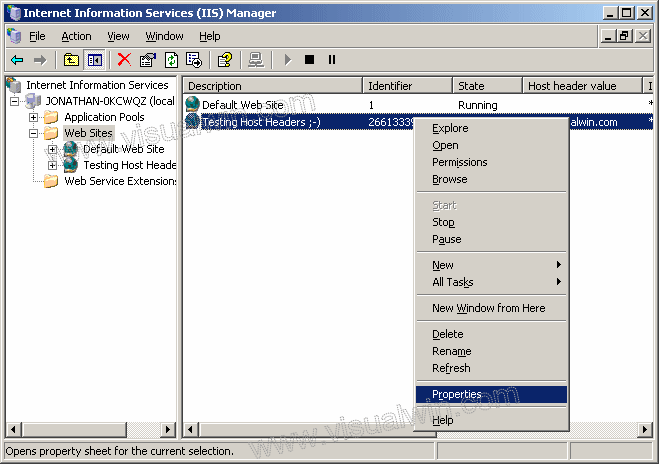
Q: How do I add a host header for a site already made?
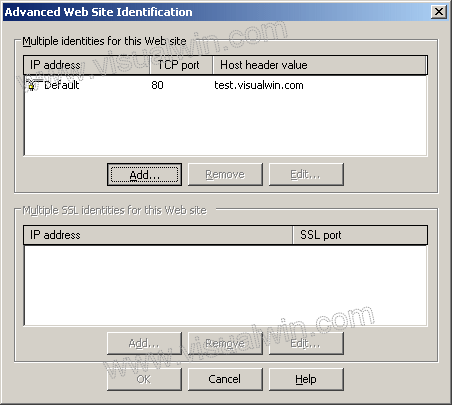
A: Go back to where we were before. Click on "Web Sites" and right click the website and select "Properties"
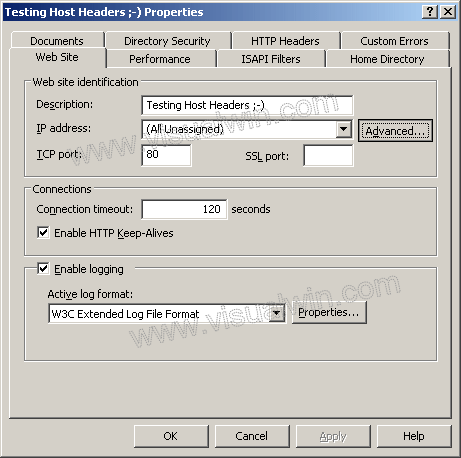
In that dialog click the Advanced button
Now click Add
Put in the TCP port 80 (port 80 is the default website port, so people can type http://some.site instead of having to type http://some.site:port) and your new header below it
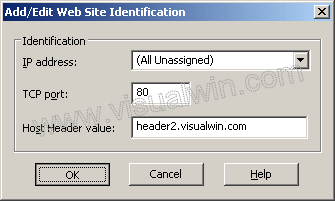
Now click OK and OK and you're done!
Q: Do I need to set anything in DNS or my website's Name Servers if I have a top level domain?
A: The answer is yes, you need to add an (A) name, but since all programs are different, I will not display how.
<-- Go back to the main tutorial page
Copyright © 2002-2026 Jonathan Maltz. For trademark/copyright information, click here. About me. Main page. Contact me.